Digital Scan to the Lab 

What Actually Happens After You Send a Digital Scan to the Lab 

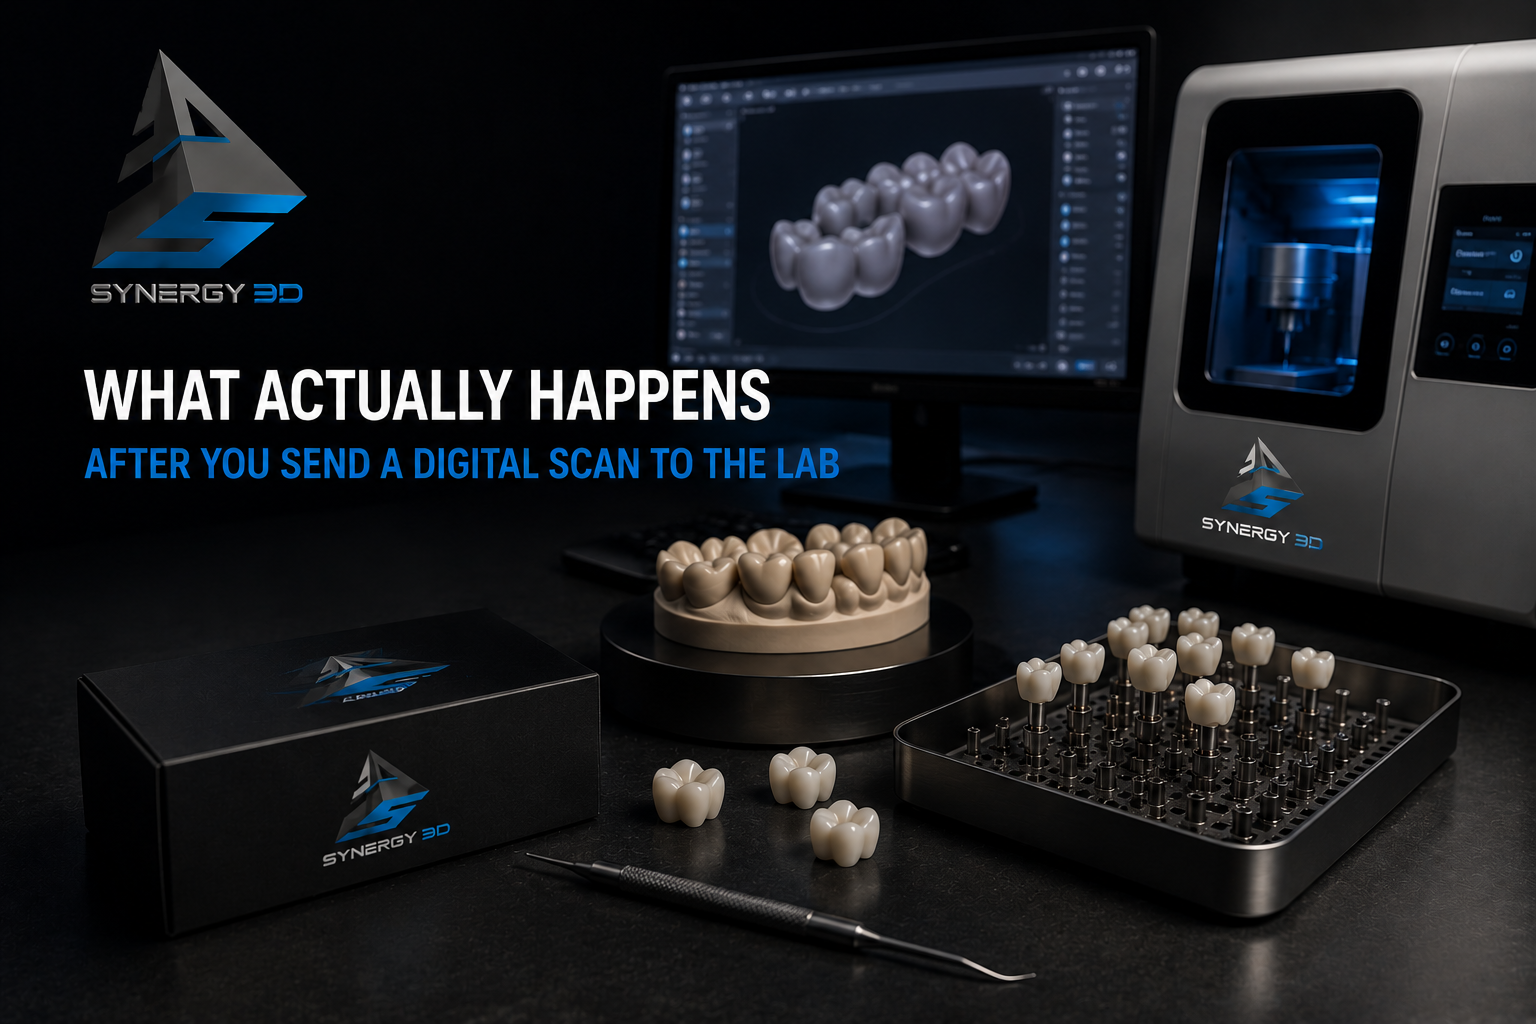
Most dentists know their side of the process. Prep the tooth, take the scan, send it off, wait. What happens between “send” and the restoration arriving at your door? That part is mostly a black box. 

It doesn’t have to be. Understanding the actual dental lab workflow, from scan file to finished restoration, makes you a better prescriber, helps you send cleaner cases, and gives you real answers when something doesn’t fit right. The same workflow, we as a modern dental lab, follow for most of the cases that dentists like you send. 

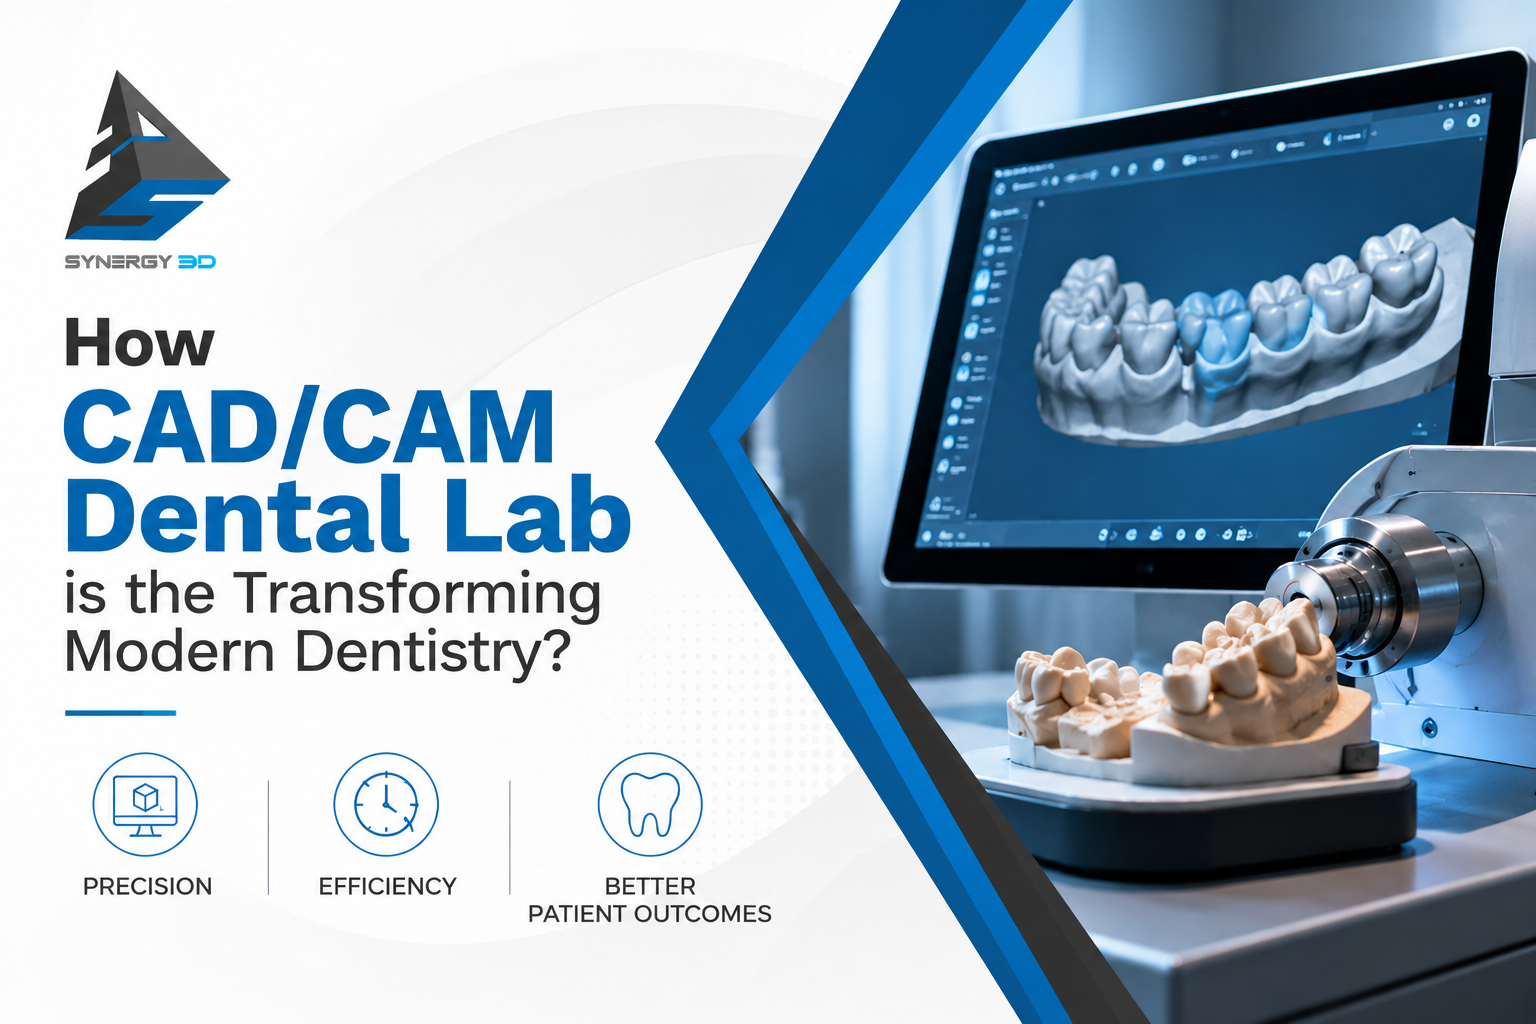
Here’s how the whole process works inside a modern digital dental lab. 

Step 1: The Case Arrives Digitally 

In a full-service digital lab, there’s no courier bag. No stone model sitting in a box. When the dentist finishes scanning the preparation with an intraoral scanner, the file, usually an STL or the scanner’s native format, travels directly to the lab through a secure digital portal. 

This step sounds simple. But it’s where most workflow problems get created or avoided. 

A clean scan is everything. If the margins are unclear, if soft tissue is crowding the preparation, if the opposing arch wasn’t captured properly. The technician either calls you for a rescan. Or, worse, works around it and produces a restoration that needs multiple adjustments chairside. 

Good labs flag margin issues before they design. Great labs train their partner practices to scan in ways that eliminate those calls altogether. 

Step 2: Case Review and Prescription Check 

Before anyone opens design software, a technician reviews the incoming case. 

They check: 

  • Margin clarity: can the preparation finish line be identified precisely? 
  • Occlusal clearance: is there adequate space for the restoration material? 
  • Shade information: is the requested shade documented and realistic for the case? 
  • Material selection: does the prescription match the clinical situation (posterior load, esthetic zone, etc.)? 

This review step is the quality gate that most analog labs skipped. Physical impressions got poured up and sent to design immediately. Digital workflows allow a deliberate pause, a clinical check before any fabrication time is spent. 

If something’s off, the lab reaches out, digitally or by phone, before starting. That one call, made early, saves everyone an entire remake cycle. 

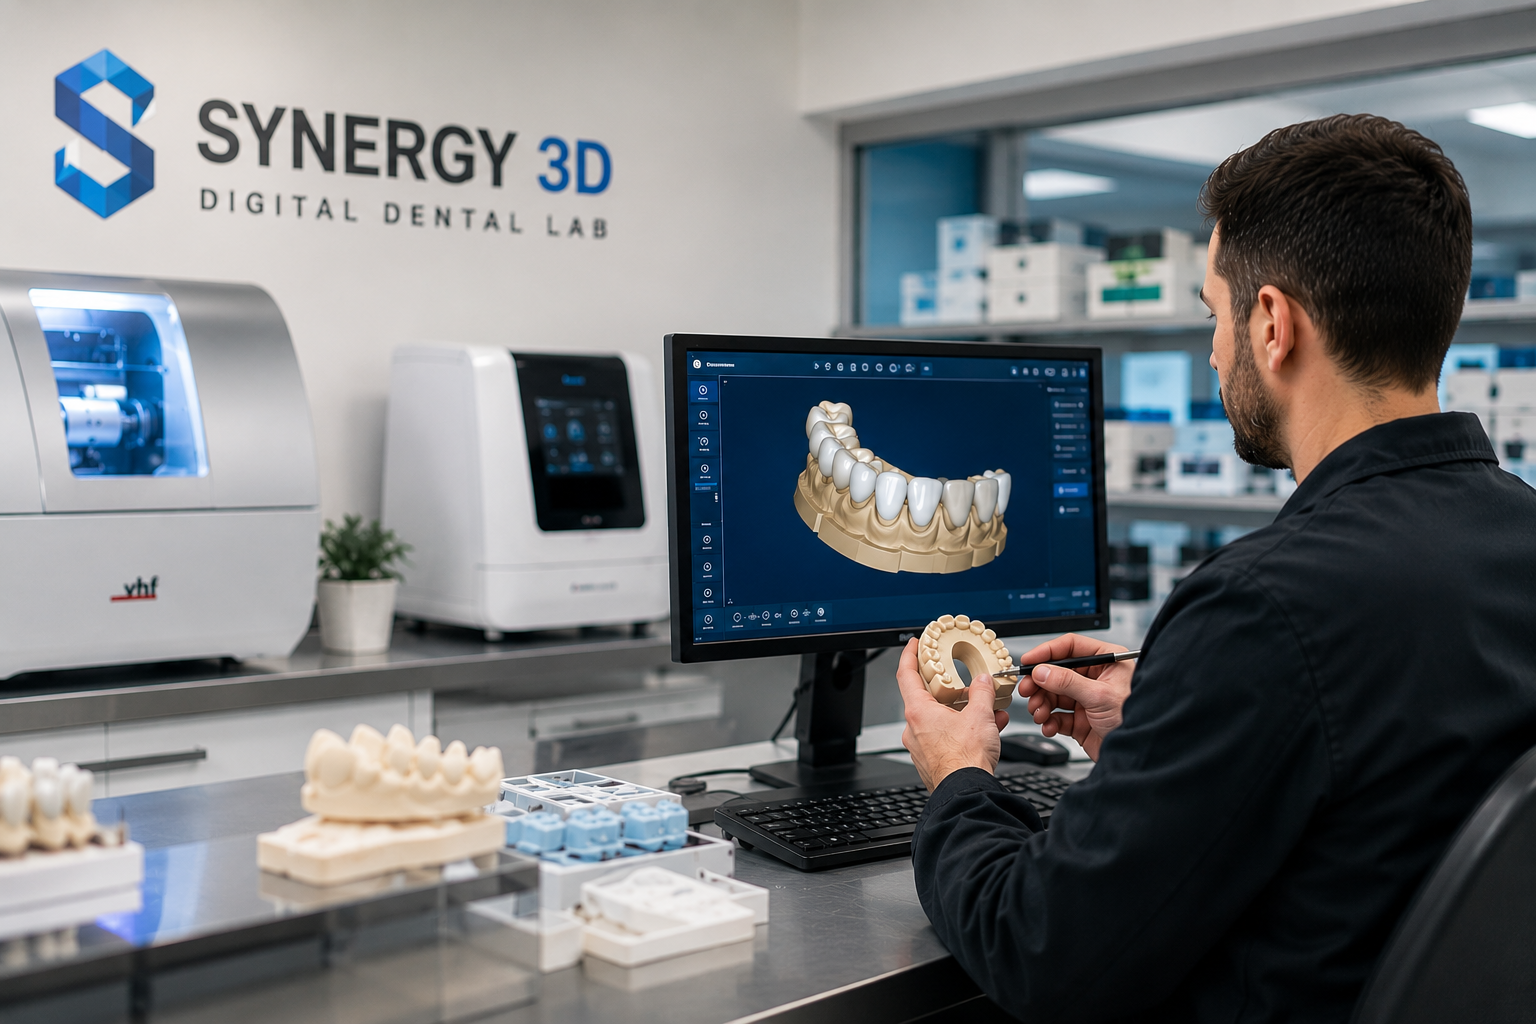
Step 3: Digital Design (CAD) 

This is where the restoration takes shape. 

A dental technician imports the scan data into CAD software in programs like Exocad or 3Shape Dental System, which are common in production labs. The software renders the patient’s preparation and surrounding anatomy in three dimensions. 

The technician designs the crown, bridge, abutment, or prosthetic using that digital model. They’re working with tools that: 

  • Automatically propose anatomical contours based on adjacent teeth 
  • Measure occlusal contacts against the opposing arch 
  • Allow margin tracing at sub-millimeter precision 
  • Let them compare design versions side-by-side before finalizing 

The output is a design file with precise coordinates for every surface of the restoration. 

Some labs are integrating AI-assisted design at this stage. Software that proposes a complete restoration of anatomy in seconds, which the technician then refines. This doesn’t remove the human judgment. It just lets experienced technicians spend that judgment on the parts that actually need it. 

Step 4: Manufacturing (CAM) 

The design file goes to the machine. 

Depending on the material and restoration type, the lab uses one of two production methods: 

  • Milling: a CNC milling machine carves the restoration from a block of material. Zirconia, lithium disilicate, PMMA for temporaries, and titanium for abutments. Milling tolerances in quality labs run under 50 microns. That’s not a number you can hit with wax and hands. 
  • 3D Printing: used increasingly for surgical guides, custom trays, denture bases, and some classes of temporaries. Printing has gotten faster and more accurate in the last few years, and it’s becoming a standard production option for the right case types. 
  • Most restorations are milled. But in a full-service lab, the choice of machine is made based on what the case actually needs: not what equipment the lab happens to have.

Step 5: Post-Processing and Finishing 

The restoration comes off the machine looking rough. Zirconia exits the mill in a pre-sintered, chalky state. It has to go into a sintering furnace, a precisely controlled high-temperature cycle, to achieve its final density, strength, and translucency. 

After sintering, the technician: 

  • Checks margins and contacts against the digital model 
  • Adjusts surface texture and anatomy by hand where needed 
  • Applies stains and glazes for esthetic cases 
  • Verifies shade against the prescription 

This finishing phase is still deeply manual. The machines get you close. The technician gets you precisely. In digital labs, finishing time is shorter because the milled baseline is already more accurate than what hand fabrication typically starts from. 

Step 6: Quality Control 

Before anything ships, the restoration goes through inspection. 

Quality labs check: 

Checkpoint  What’s Being Verified 
Margin adaptation  Does the crown seat fully on the die model or printed analog? 
Contact points  Are proximal contacts correct — not open, not too tight? 
Occlusal fit  Does the bite relationship match the opposing arch scan? 
Shade match  Does the final color match the prescription and shade map? 
Surface integrity  No cracks, pits, or surface defects from milling or sintering? 

Failed QC means the piece gets remade. No exceptions, no “close enough.” The QC step is what separates labs that have low remake rates from labs that have dentists calling their reps every month. 

Step 7: Packaging and Delivery 

The finished restoration is cleaned, polished, photographed for case records, and packaged. Most digital cases ship within five business days of receiving the scan file. 

Some labs offer digital case documentation, such as photos, design files, and shade records archived against the patient case for future reference. For implant cases, especially, that digital archive becomes genuinely valuable when restorations need to be replicated years later. 

How Synergy 3D Runs This Workflow 

Synergy 3D built this entire dental lab workflow from scratch on a digital foundation. About 98% of their restorations are produced digitally, which means every step described above is how they actually operate, not an aspirational description of selective cases. 

Their production covers the full range: crowns, bridges, implant prosthetics, custom abutments, zirconia in multiple formulations, temporaries, and removable prosthetics. They work with major intraoral scanner platforms, so the scan-to-design handoff is smooth regardless of what’s in your operatory. 

What sets their workflow apart is the partnership layer built around it. Synergy 3D trains dental practices on how to submit cleaner cases. That means fewer callbacks, fewer rescans, and a faster, more predictable turnaround on every case you send. 

Five-day average turnaround for digital cases. Backed by strong warranties. And a team that actually answers when you call. 

See the full offering at synergy3d.net

The Workflow Is Only As Good As the Lab Running It 

The steps above are standard. Every modern digital lab claims to follow them. But what varies enormously is the precision at each step, the experience of the technicians running design and finishing, and the accountability when something goes wrong. 

The dental lab workflow is straightforward. The discipline to execute it consistently is the differentiator. And it’s worth knowing which side of that line your current lab sits on. 

CAD/CAM Dental lab

How CAD/CAM Dental Lab is the Transforming Modern Dentistry? 

Walk into most dental labs a decade ago and you’d find plaster, wax, and a lot of waiting. 

Walk into a serious CAD/CAM dental lab today and you’ll find design software running on dual monitors, milling machines humming through blocks of zirconia, and a digital file library that’s replaced every physical model shelf they used to have. The room looks different. The results are different. And the gap between the two eras keeps widening. 

CAD/CAM technology, meaning Computer-Aided Design and Computer-Aided Manufacturing, isn’t a new idea. Manufacturing and aerospace have used it for decades. But dentistry’s adoption of it? That’s a more recent, and genuinely consequential, story. 

Why Dentistry Was Ready for CAD/CAM Tech Shift 

Dental restorations have always demanded ridiculous precision. You can not just say “wrong” if a crown is even off by half a millimeter, it creates bite issues, occlusal problems, and patient complaints that chase a practice for months. 

Traditional fabrication methods could produce excellent results. They could also produce inconsistent ones. The result depended heavily on the technician, the day, the impression quality, the ambient humidity. Too many variables outside anyone’s control. 

CAD/CAM pulled precision out of the hands-only scope and into a repeatable, measurable process. That was the shift. 

What CAD/CAM Actually Does in a Dental Lab 

It’s two technologies working in sequence, and understanding each one separately helps. 

CAD, the design phase: 

A dental technician (or the software itself, increasingly) builds a 3D digital model of the restoration. This model is designed from the scan data your intraoral scanner captured. The software checks margins, contacts, occlusion, and anatomical shape. Adjustments that used to take skilled wax carving now happen in minutes on screen, and they’re reversible. You can compare versions. You can replicate a design exactly six months later. 

CAM, the manufacturing phase: 

Once the design is approved, it’s sent to a milling machine or a 3D printer. The machine fabricates the restoration from a block of zirconia, lithium disilicate, PMMA, or another material. Milling tolerances in modern CAD/CAM dental lab environments commonly run below 50 microns. That’s not human-hand territory. 

The two together compress a process that used to take two weeks into a few days, with results that hold up to measurement rather than just visual inspection. 

Materials That Changed Everything 

CAD/CAM tech in dentistry didn’t just speed things up. It unlocked materials that were nearly impossible to fabricate by hand. 

High-strength zirconia is the standout. Dense, tooth-colored, virtually fracture-resistant — it’s become the go-to for posterior crowns. But it’s brutally hard to shape manually. A milling machine carves it precisely in under an hour. 

Then there’s multi-layered zirconia, designed to mimic the natural gradient of tooth color and translucency. PMMA for digitally milled temporaries. Titanium for custom abutments. These aren’t incremental upgrades. They’re entirely new clinical options made possible by digital manufacturing. 

The Intraoral Scanner Connection 

A CAD/CAM dental lab only delivers its full potential when the front end works properly. That means the scanner in your operatory, and the file it produces. 

When a dentist scans a preparation with an intraoral scanner like iTero, TRIOS, Carestream, and others, the resulting STL or proprietary file goes directly to the lab. No physical model. No courier bag. The lab imports it into their design software and starts work immediately. 

This digital handshake between scanner and lab is where speed gets created. A file transmitted at 5 PM can have a design reviewed and queued for milling before the next morning. That’s not possible in any analog workflow. Anywhere. 

CAD/CAM Tech in Full-Arch and Implant Cases 

If you want to see CAD/CAM’s leverage at full power, look at implant prosthetics. 

Full-arch implant restorations, the kind that replace an entire dental arch, used to require extraordinary technician skill and enormous lab time. Today, a CAD/CAM dental lab designs the framework digitally, mills it from titanium or zirconia, and fits prosthetic teeth with precision the old process couldn’t routinely hit. 

Custom abutments follow the same logic. Designed from scan-body data, milled to fit the exact implant position and emergence profile of each patient. Stock abutments still exist, but for anything clinical and nuanced, the custom digital route is cleaner. 

How Synergy 3D Uses CAD/CAM Technology in Dentistry 

Synergy 3D isn’t a traditional lab that added a milling machine to the back room. It’s a CAD/CAM dental lab built from the ground up around digital production. 

About 98% of their restorations are produced through digital workflows. That number reflects actual operating architecture and not selective use of technology for certain case types while everything else stays analog. 

Their CAD/CAM capabilities span the full restorative range: single-unit crowns, bridges, implant prosthetics, custom abutments, zirconia restorations in multiple formulations, milled temporaries, and removable prosthetics. All from digital files. All from scanner platforms their team has already integrated, so your workflow doesn’t need to be rebuilt to work with theirs. 

For practices that have invested in digital scanning and want a lab that can actually match that commitment, the pairing matters. Synergy 3D is built to be that match. 

Visit synergy3d.net to learn more.

Where This Technology Is Heading 

AI-assisted design is already entering the better CAD/CAM dental lab platforms. Software that proposes restoration anatomy based on adjacent teeth, occlusal data, and case history. Technicians reviewing and refining rather than building from scratch. 

Five years from now, a significant portion of design work will be automated. The lab’s value will shift further toward quality control, clinical judgment, and material selection — the parts that still need expertise, not manual execution. 

The labs that are digitally fluent now are the ones positioned to absorb that shift without scrambling. 

The Honest Take on This Modern Dentistry Shift 

CAD/CAM technology didn’t save dentistry from itself. Traditional labs produced beautiful work. But it raised the floor dramatically. Consistent fits, predictable outcomes, faster delivery, better materials are structural ones and not incremental improvements. 

For practices serious about the quality they deliver, choosing a CAD/CAM dental lab isn’t an upgrade anymore. It’s just the standard. 

Digital Dental Lab 

Why Dentists Are Switching to Full-Service Digital Dental Lab 

The dentists switching to a full-service digital dental lab aren’t chasing trends. They’re solving real, expensive problems like 

  • Slow turnaround. 
  • Inconsistent fit. 
  • Patients who don’t come back for the second appointment. 

Traditional labs built their reputation on skilled hands. That still matters. But skilled hands working inside a 12-day turnaround cycle and an analog impression workflow? That’s a business constraint dressed up as a process. 

Something had to give. And across practices of every size, it’s the same story: “Once a dentist sends their first fully digital case, there isn’t much appetite to go back.” 

The Real Reason Behind This Shift? 

Speed gets the headline, but it isn’t the whole story. 

Yes, a full-service digital dental lab cuts turnaround to five days or fewer for most cases. That alone changes the math on patient scheduling, temporary management, and chair time. 

But the stickier reason dentists stay is consistency. 

When you mill a crown from a CAD design, the result is repeatably accurate. Not “good for a Monday” accurate. Accurate every time, for every technician, for every case. That kind of predictability changes how a practice builds its reputation. You stop managing variation and start trusting the output. 

What “Full-Service Digital Dental Lab” Actually Means (and Why It Matters) 

Not every lab waving a digital banner is actually full-service. Some digitized one part of their workflow, maybe the design phase, while the rest is still analog production. 

A genuinely full-service digital dental lab handles everything: 

  • Crowns and bridges: single unit through multi-span, multiple material options 
  • Implant prosthetics: including full-arch restorations and implant-retained overdentures 
  • Custom abutments: designed from your scan-body data, not generic stock 
  • Zirconia restorations: high-translucency, layered, or monolithic 
  • Removable prosthetics: digitally designed full and partial dentures 
  • Temporaries: milled or printed, fast enough to keep the patient comfortable while they wait 

This translates to you have one lab, one point of contact, and no hunting for a specialist lab for every case type. 

The Intraoral Scanner Problem Nobody Talks About 

Dentists investing in intraoral scanners like iTero, 3Shape TRIOS, Carestream, and Planmeca often run into a surprisingly frustrating wall: the lab they’ve used for years doesn’t accept their scanner’s native files, or they do but without actually optimizing the workflow for it. 

So you’re either converting files manually, re-scanning cases, or going back to physical impressions for complex cases. That defeats the purpose entirely. 

A full-service digital lab is scanner-agnostic by design. The workflow adapts to your equipment, not the other way around. That single factor (true scanner compatibility) is quietly one of the biggest reasons practices switch labs. 

Comparing Analog Workflow with Full-Service Digital Dental Lab 

Here’s where it gets practical: 

Metric  Analog Workflow  Full-Service Digital Lab 
Average turnaround  10–15 days  3–7 days 
Remake rate  Higher (impression error, manual variation)  Measurably lower 
Temporaries needed  More frequently  Less often 
Patient recall appointments  More  Fewer 
Case documentation  Paper, stone models  Digital archive, retrievable 

Fewer remakes. Fewer recalls. Fewer temporaries that patients complain about. These soft wins drive revenue and reputation. 

What the Transition Actually Looks Like 

This is where practices hesitate, and honestly, it’s a fair concern. Changing labs mid-practice feels like switching accountants mid-audit. There’s real risk in the handover if the new lab doesn’t support you through it. 

The best digital dental labs offer onboarding support—not just “here’s our portal.” Real technical guidance. Someone to call when your scan file isn’t seating right in their design software. Training for your team on how to submit digital cases correctly. 

That support layer is what separates labs that dentists evangelize from ones they quietly abandon after three cases. 

Why Synergy 3D is Worth the Conversation 

Synergy 3D was built as a full-service digital dental lab from day one. 

Based out of Wappingers Falls, NY, we run a production model where approximately 98% of restorations are digitally produced. That’s the actual operating reality, not a marketing slide. Their full-service range covers crowns and bridges, implant prosthetics, custom abutments, zirconia restorations, removable prosthetics, and temporaries — all under one roof. 

We’re compatible with the major intraoral scanner platforms, so your existing investment doesn’t become a problem. And we take the integration seriously, offering technical support and training to help practices transition without friction. 

For dentists who want a lab that operates like a partner, not a vendor, that difference is substantial. 

Turnaround averages five days or fewer for digital cases. 

Learn more at synergy3d.net 

The Bottom Line 

Dentists are switching to a full-service digital dental lab because it solves multiple problems like slow turnaround, less consistency, and harder to scale. All these factors affect revenue and reputation when you don’t switch to the modern solution. 

The ones who switched early aren’t looking back. 

Contact us to discuss your case requirement or directly send the case digitally